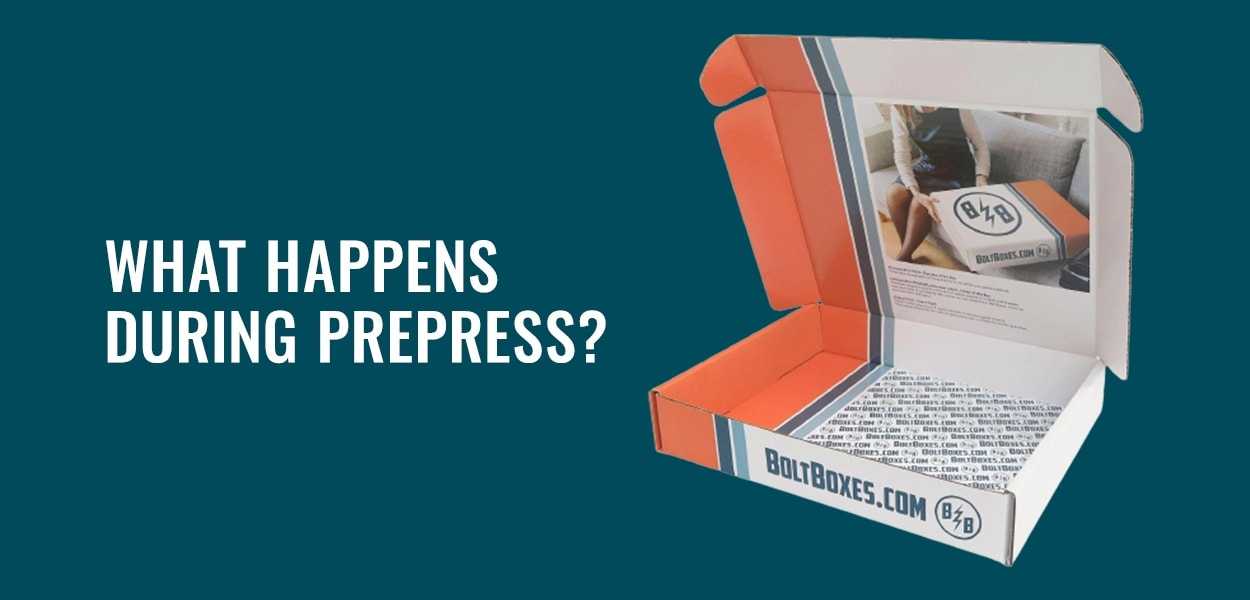
Product displays, packaging and shipping boxes have the power to reach a consumer and tell your brand’s story. Eye-catching designs and clever branding leave lasting impressions and make your company more recognizable in saturated marketplaces. But that magic doesn’t happen on its own — it takes a dedicated team of designers, marketers and manufacturers to make it happen. From concept inception and creation to printing, every person plays a crucial role. Prepress is an essential step for all box design.
Read on to learn more about the prepress process and how it transforms an idea into a powerful brand tool.
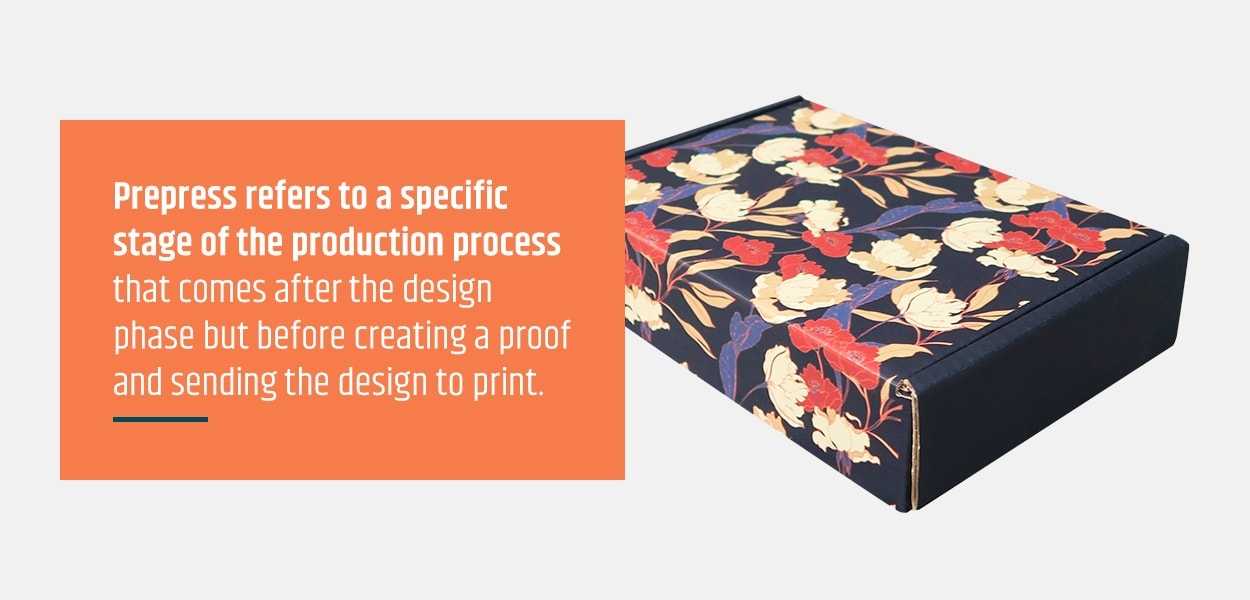
Prepress refers to a specific stage of the production process that comes after the design phase but before creating a proof and sending the design to print. Some manufacturers may also refer to it as “premedia services.”
As you would expect, it’s the stage where all the “prepress” things happen, such as:
Different manufacturers have their own way of conducting prepress, depending on available equipment and service options.
Prepress requires several professional eyes, each trained to handle an important aspect, like converting a design to a dieline, adjusting printing or testing fold lines. The process may take several hours, days or weeks, depending on your design’s complexity and how many variations there are across mediums. For example, a bulk order of standard size shipping boxes with a single design isn’t likely to take as long as a mixed order of several box sizes with differing designs and intricate cutouts.
The easiest way to understand the prepress process is to take a step back and see where it falls in the larger picture.
Think of your initial concept as the logs for a campfire. It’s not a single idea that you’re seeing through — it’s a strategic decision that incorporates input from multiple departments. Each department adds a log — graphic design, marketing, merchandising, budgeting — all critical components for crafting a successful design.
Once your design is complete, you turn it into a dieline. The dieline applies your design to a digital file, which notes where the images and text will go, and where all fold lines, bleed lines, handles, and cutouts will be, so you can plan how the finished product will look.
You get a dieline for packaging and boxes through one of three possible routes:
Your dieline designer may send your design back to you for adjustments if it’s not compatible with your specific dimensions. They can also help you figure out which dimensions will work best for your chosen concept.
If you consider your concept a campfire, then the prepress process is the spark that ignites it. Once you send your dieline to the manufacturer, they start setting things into motion to bring it to life. This might include adjusting colors, testing margins, scanning and preparing digital files for discrepancies and working out all technical concerns before moving on. They will create a proof of your final product — either a digital proof or a physical prototype — so you can inspect it and request any necessary adjustments. They may suggest adjustments, but they will not make changes without your approval. Once you approve the proof, they will start applying the design to the printing plates, if applicable.
Now that everything is finalized and your campfire is lit, your manufacturer begins printing your design onto your boxes, packaging material or display before shipping them your way. Now you’ve got professional, high-quality, error-free shipping boxes, mailer boxes, kraft boxes, packaging and product displays to tell your brand’s story and attract new customers to your business.
Some box manufacturing facilities — including Bolt Boxes — have G7 Master Facility Qualification status, signifying that they use a specific grayscale, color tone and machine calibration, so colors remain consistent regardless of design, material or application. Working with a G7 Master Facility is the best way to keep your logo and marketing designs consistent across different media.
Dielines, digital proofs and physical prototypes are all different ways of ensuring the final product is everything you need it to be without wasting time and resources. Each step helps you review a different part of your product. For example, a dieline file will let your designer or manufacturer see if your logo is too big to fit your chosen box size and make adjustments as needed. A digital proof is one way your team can review the final product before investing in a bulk order, so you can get approval and feedback from necessary departments or submit it for legal compliance if you’re working with products that require instructions, warnings or ingredient lists. Though sometimes smaller than the finished product, a physical prototype lets you get a feel for the box and make sure it looks and performs the way you intended.
Major adjustments might mean starting some parts of the prepress process over, but the extra consideration may save a lot of heartache later on. Without these steps, you risk wasting time, money and box material on a design that doesn’t meet standards or realizing halfway through the process that your original concept wasn’t what you wanted after all. These steps also give industry experts a chance to offer valuable input so you can create the best possible product for your business.
The way your business presents itself matters, from large-scale marketing campaigns to customer service to shipping materials. This includes crafting quality shipping boxes and packaging with clear, attractive branding — a process that requires an attentive manufacturing company and a thorough prepress process.
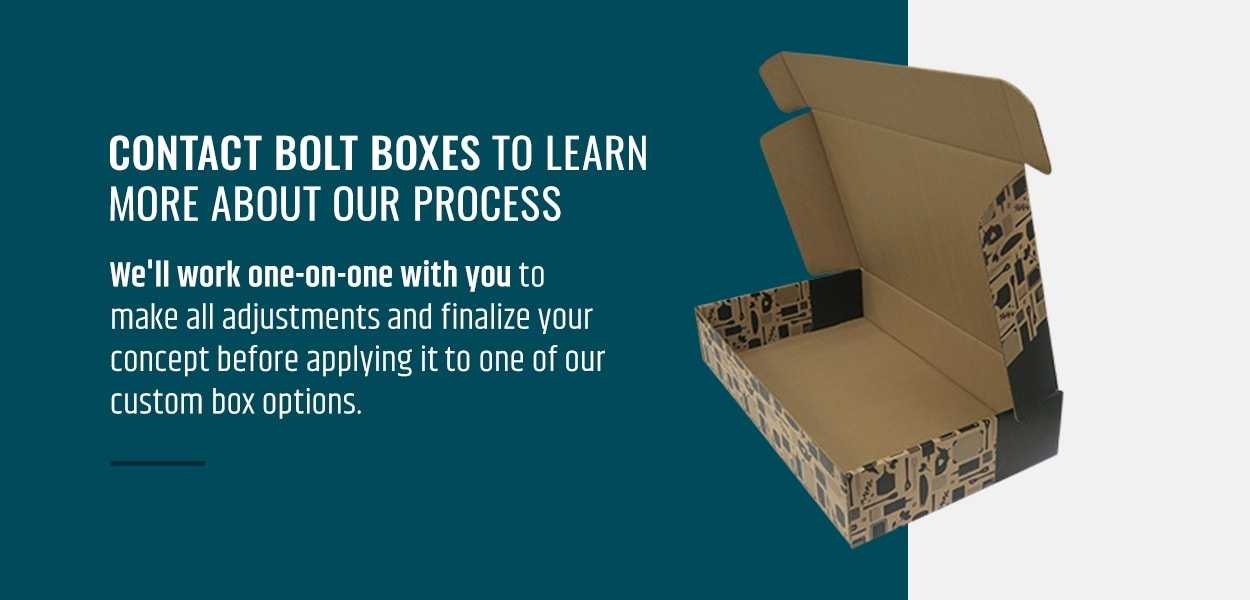
At Bolt Boxes, our 10-person prepress team is here to see your design through and prepare it for final printing. We’ll work one-on-one with you to make all adjustments and finalize your concept before applying it to one of our custom box options. When you partner with us, you get your choice of flexographic, lithographic and digital printing, which we can apply to various box types and dimensions to meet your company’s needs.
Contact us to learn more or start building your box today!

